Adjusting permissions on thousands of folders and files can be time consuming -- unless you use PowerShell to automate it.
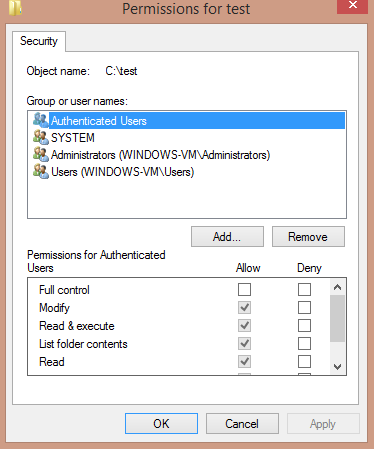
Changing permissions on a single folder is a cinch with the GUI. Simply right-click a folder, go to Security and you're golden.
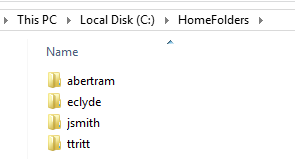
The problem arises when you've got thousands of folders to change. Let's say you have a company file server that houses all employees' home folders. Each employee needs to have Modify access to their own folder and administrators need to have Full Control over all folders. You have the server built and all the folders created, but you now must face the challenge of ensuring the NTFS permissions are set correctly on each folder. How would you go about this?
I hope you didn't just say you'd wear out your mouse making this happen because we're not using our mouse here, sorry. We're automating this whole process using PowerShell.
Changing ACLs For Folders And Files
To change access control lists (ACLs) for a folder or a file requires three phases:
- Getting the current ACL.
- Modifying the ACL.
- Setting the new ACL.
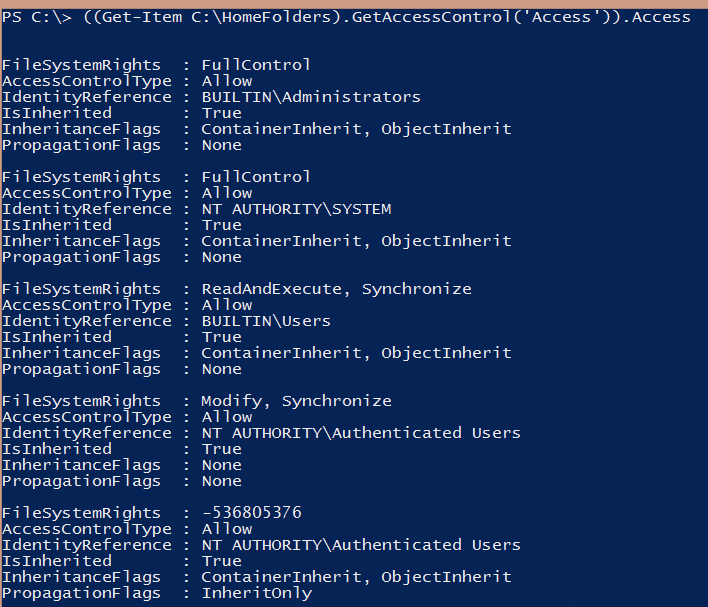
Before an ACL can be changed you first must get the existing one. There are two ways to do this with PowerShell; you can use the Get-Acl cmdlet or the GetAccessControl() method. We highly recommend using the GetAccessContro() method. Get-Acl is handy but due to some limitations it's not quite as smart as GetAccessControl() is.
Before we can start changing permissions for all home folders we should test this out on a single folder.
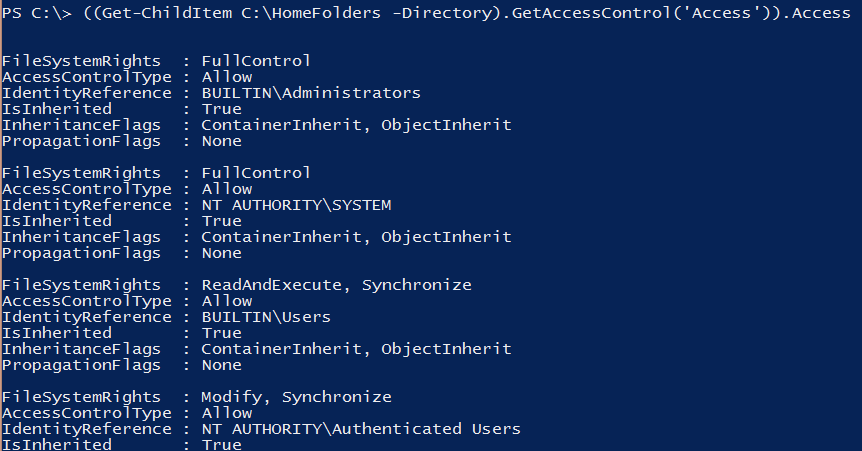
Great! It looks like we now have the code to find the ACL on a single folder. Let's now expand this to find ACLs for all home folders. By simply using Get-ChildItem and the Directory parameter to exclude files instead of Get-Item, we're now able to find ACLs on all of the home folders. We're getting closer!
The next step is modifying the ACL on each folder. Remember that we want to ensure the only user that has access to each home folder is the owner of the folder. How would we know the owner of the folder? Luckily, the owner of the folder is also the folder name itself.
We'll need to grab that folder name and use that to create another entry in the ACL. Unfortunately, the script will have to get a little more complicated.
$HomeFolders = Get-ChildItem C:Homefolders -Directory
foreach ($HomeFolder in $HomeFolders) {
$Path = $HomeFolder.FullName
$Acl = (Get-Item $Path).GetAccessControl('Access')
$Username = $HomeFolder.Name
$Ar = New-Object System.Security.AccessControl.FileSystemAccessRule($Username, 'Modify', 'ContainerInherit,ObjectInherit', 'None', 'Allow')
$Acl.SetAccessRule($Ar)
Set-Acl -path $Path -AclObject $Acl
}
Pay attention to the following line in this script because this one is a little hard to comprehend.
$Ar = New-Object
System.Security.AccessControl.FileSystemAccessRule($Username, 'Modify', 'ContainerInherit,ObjectInherit', 'None', 'Allow')
Access control entries (ACEs) are the individual rights inside of an ACL. An ACE can also be called a FileSystemAccessRule. This is a .NET object that has five parameters;
- The security identifier ($Username);
- The right (Modify);
- Inheritance settings (ContainerInherit,ObjectInherit) which means to force all folders and files underneath the folder to inherit the permission we’re setting here;
- Propagation settings (None) which is to not interfere with the inheritance settings;
- Type (Allow).
The remaining lines are taking the $Ar FileSystemAccessRule object, adding it to the ACL and finally we're committing the ACL back to the disk.
By using GetAccessControl() and Set-Acl you can do any number of other actions on ACLs, such as adding new ones, like we did here, removing old ones, or just modifying existing ACLs. For more information on managing file system permissions with PowerShell, there's a great article on the TechNet blog: How to Handle NTFS Folder Permissions, Security Descriptors and ACLs in PowerShell.


